Delivery Details
Online orders are sent out Mon-Friday from our St Kilda Showroom - 70 St Kilda Rd St Kilda VIC 3182.
Orders placed before 2:30pm will be shipped same business day*
*pending availability
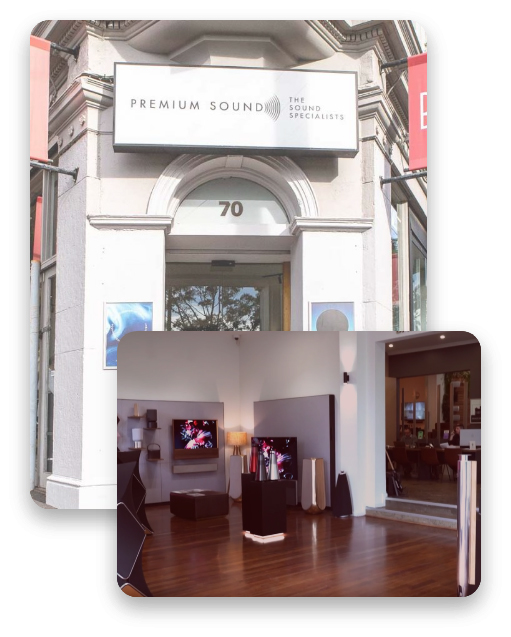
Store Locator
Regular Shipping Details
Delivery in 3 or more business days after posting
Covers all of Australia.
Sending to same state:
- Metro - up to 2 business days
- Country - up to 5 business days
- Metro - up to 3-6 business days
- Country - up to 4-10 business days, depending on lodgement and destination points
Express Shipping Details
Delivery in 1 or more business days after posting
Covers 80% of Australian business addresses, private addresses and Post Office Boxes.
Service operates between all capital cities (except Darwin and in Perth CBD only) and some major centres. Outside metropolitan areas guaranteed service is to and from townships only.
If your item is for an address outside the Express Post network, we'll use the fastest possible transport links, but it won't be covered by our Next Day Guarantee.